
There's something truly special about capturing the delicate beauty of nature on canvas, and painting flowers is, you know, a wonderful way to do just that. It's almost like bringing a little piece of the garden indoors, isn't it? For many, the idea of painting a flower can seem a bit tricky, but with the right approach, it's actually a very rewarding and calming activity.
Acrylic paints are, in some respects, a fantastic choice for floral art. They dry quickly, offer vibrant colors, and are quite forgiving, which is really helpful for anyone just starting out. You can layer them, blend them, and create all sorts of interesting textures, making them ideal for depicting the varied petals and leaves of a bloom.
This guide will walk you through everything you need to know to begin your own journey into flower painting with acrylics. We'll look at the tools you'll want, some simple techniques, and how to find inspiration for your very own beautiful creations. You'll find it's a lot easier than you might think, honestly.
Table of Contents
- Why Choose Acrylics for Flowers?
- Gathering Your Creative Tools
- Getting Started: Your First Blooms
- Techniques to Make Your Flowers Pop
- Bringing Flowers to Life: Tips for Realism
- Troubleshooting Common Painting Puzzles
- Finding Inspiration for Your Floral Art
- Frequently Asked Questions
- Conclusion
Why Choose Acrylics for Flowers?
When you're thinking about painting flowers, the choice of paint really does make a difference. Acrylics are, you know, a fantastic starting point for many artists, especially those who are new to painting. They offer a great balance of ease of use and professional results, which is pretty neat.
The Magic of Acrylics
Acrylic paints dry quickly, which means you can layer colors without waiting too long. This speed is a big advantage when you're trying to build up the many petals of a flower. You can add one layer, and then, almost instantly, apply another on top.
They are also water-soluble when wet, making cleanup simple with just soap and water. Once dry, though, they become waterproof, so your finished painting will be durable and long-lasting. This versatility is, honestly, a huge plus for artists.
The vibrancy of acrylic colors is another reason they are so popular for flower painting. Flowers, also known as blooms and blossoms, come in an incredible array of colorful hues, scents, and textures, and acrylics can truly capture this beauty and diversity. They allow you to create bright, bold petals or soft, subtle tones, depending on your desire.
You can use them thickly, like oil paints, to create texture, or thin them with water for a watercolor-like effect. This adaptability means you can experiment with different looks for your floral subjects. It's really quite amazing how much you can do with them.
Gathering Your Creative Tools
Before you dip your brush into paint, it's a good idea to gather some basic supplies. Having the right tools makes the painting process much more enjoyable and, you know, a bit less frustrating. You don't need a lot of expensive gear to start, just a few key items.
Essential Supplies
First, you'll need something to paint on. Canvas panels or stretched canvases are popular choices, but even thick paper designed for acrylics will work. For beginners, smaller sizes are often best, as they are less intimidating and quicker to finish, which is nice.
A palette is also a must-have for mixing your colors. A simple plastic plate, a piece of old tile, or even parchment paper can serve this purpose. You'll also want a couple of containers for water to clean your brushes, and some paper towels or an old rag for drying them.
An easel can be helpful, but it's not strictly necessary when you're just starting. You can easily paint on a flat surface like a table. Just make sure to protect your work area with newspaper or a plastic sheet, as acrylics can be a bit messy, naturally.
Picking Your Paints
For flower painting with acrylics, you don't need every color under the sun to begin. A basic set of primary colors (red, blue, yellow), plus white and black, will allow you to mix a surprising range of shades. This is, you know, a pretty good starting point.
When choosing paints, look for "student grade" acrylics. They are more affordable and perfectly good for practice and learning. As you gain confidence, you might consider investing in "artist grade" paints, which have a higher pigment concentration and a smoother consistency, but that's later, really.
Think about the types of flowers you want to paint. If you love roses, a good red and a vibrant pink would be useful. For sunflowers, you'd want a bright yellow and some earthy browns. It's all about what inspires you, after all.
Brushes and Beyond
A few different brush shapes and sizes will be very helpful. A flat brush is great for broad strokes and creating crisp edges, while a round brush is perfect for details and curved lines, like petals. A small, pointed brush will be good for those tiny touches, too.
You might also find a palette knife useful for mixing paints or even applying paint directly to the canvas for texture. Sponges can create interesting effects for foliage or backgrounds, so keep that in mind. There are so many tools to explore, actually.
Don't feel like you need a huge collection of brushes right away. Start with three or four versatile brushes, and you'll be well on your way. You can always add more as you discover what works best for your style, you know.
Getting Started: Your First Blooms
Now that you have your supplies, it's time to get painting! Don't worry about making a perfect masterpiece on your first try. The goal here is to get comfortable with the paints and enjoy the process. It's all about having fun, really.
Simple Shapes, Big Impact
Begin by sketching the basic shapes of your flower onto your canvas with a light pencil. Think of a flower not as a complex object, but as a collection of simple forms: circles for the center, ovals or teardrops for petals. This makes it much less intimidating, honestly.
For example, a daisy might start as a small circle for the middle, surrounded by a larger circle to guide the length of the petals. A rose might begin with a central swirl. Keep your lines light, as you'll be painting over them, you know.
Don't be afraid to simplify. You're not trying to create a photographic reproduction at this stage. You're just getting a feel for the flower's structure. This foundational step is, basically, pretty important for building confidence.
Layering for Depth
Acrylics are great for layering. Start with a thin wash of color for the background or the base color of your flower. Let this layer dry completely. This base color helps to establish the overall tone of your painting, which is quite useful.
Then, begin to build up your flower by adding more opaque layers of paint. Start with the darker shades first, defining the areas of shadow. Then, gradually add lighter colors to create the petals and highlights. This process helps to give your flower a sense of depth and dimension, so.
Think about how the petals overlap each other. Each layer of paint can represent a new petal or a different part of the same petal. This technique is, you know, a core part of making your flowers look realistic and full.
Adding Those Special Touches
Once your main layers are in place, it's time for the details. Use a smaller brush to add finer lines, like the veins on a leaf or the tiny stamens in the center of a bloom. These small additions can really bring your painting to life, honestly.
Consider adding some texture. You can use a slightly drier brush to create subtle lines that mimic the delicate texture of petals. Or, you might dab on some paint for a stippled effect in the flower's center. It's all about experimenting, really.
Don't forget the stem and leaves! These elements ground your flower and add to its natural appearance. Pay attention to how the leaves curve and how light hits them. They are, after all, just as important as the flower itself, in a way.
Techniques to Make Your Flowers Pop
Beyond basic layering, there are several simple techniques that can really make your flower paintings stand out. Trying these out can add variety and interest to your work, and, you know, help you develop your own unique style. They're not hard, just different ways to use your brush.
Wet-on-Wet Wonders
This technique involves applying wet paint onto a wet surface or into another wet color. It creates soft, blended edges, which are perfect for the delicate transitions found in flower petals. You might, for example, paint a petal shape with one color, then immediately drop in a different, wet color to let them blend naturally.
The key is to work quickly before the paint dries. This method is great for creating a dreamy, ethereal look. It's a bit like watercolor, actually, but with the opacity of acrylics. You'll find it can produce some really lovely effects, so.
It's a good way to get those subtle color shifts you see in real blooms. Just remember that too much water can make the paint too thin, so a little practice helps, you know.
Dry Brush Delights
For this technique, you'll use a brush with very little paint on it and make sure it's almost dry. When you drag this brush lightly across your canvas, it creates a textured, broken line. This is fantastic for adding the delicate, feathery edges of petals or the rough texture of a stem.
It's also great for adding subtle highlights or creating a weathered look. You can pick up just a tiny bit of paint on your brush, wipe most of it off, and then lightly stroke it over your dried layers. This creates a really nice, subtle effect, honestly.
This method helps to add a sense of realism without having to paint every single detail. It's a clever way to suggest texture, basically.
Stippling and Textures
Stippling involves using the tip of your brush to make small dots. This is wonderful for creating the textured center of a sunflower or the fuzzy appearance of certain flower parts. You can use different shades of color to add depth to these dotted areas, which is pretty cool.
For other textures, you might try dabbing a sponge or even a crumpled piece of paper onto your paint and then onto the canvas. This can create interesting patterns for leaves or backgrounds. It's a way to add a lot of visual interest quickly, you know.
Experiment with different tools and techniques. You might even use your fingers for some blending or texture. The beauty of acrylics is how versatile they are, allowing for all sorts of creative exploration, really.
Bringing Flowers to Life: Tips for Realism
If you want your flower paintings to look more lifelike, there are a few key things to focus on. It's not about being a perfect copy machine, but rather about understanding how light and form work in nature. This will make your art feel more alive, you know.
Observing Nature's Art
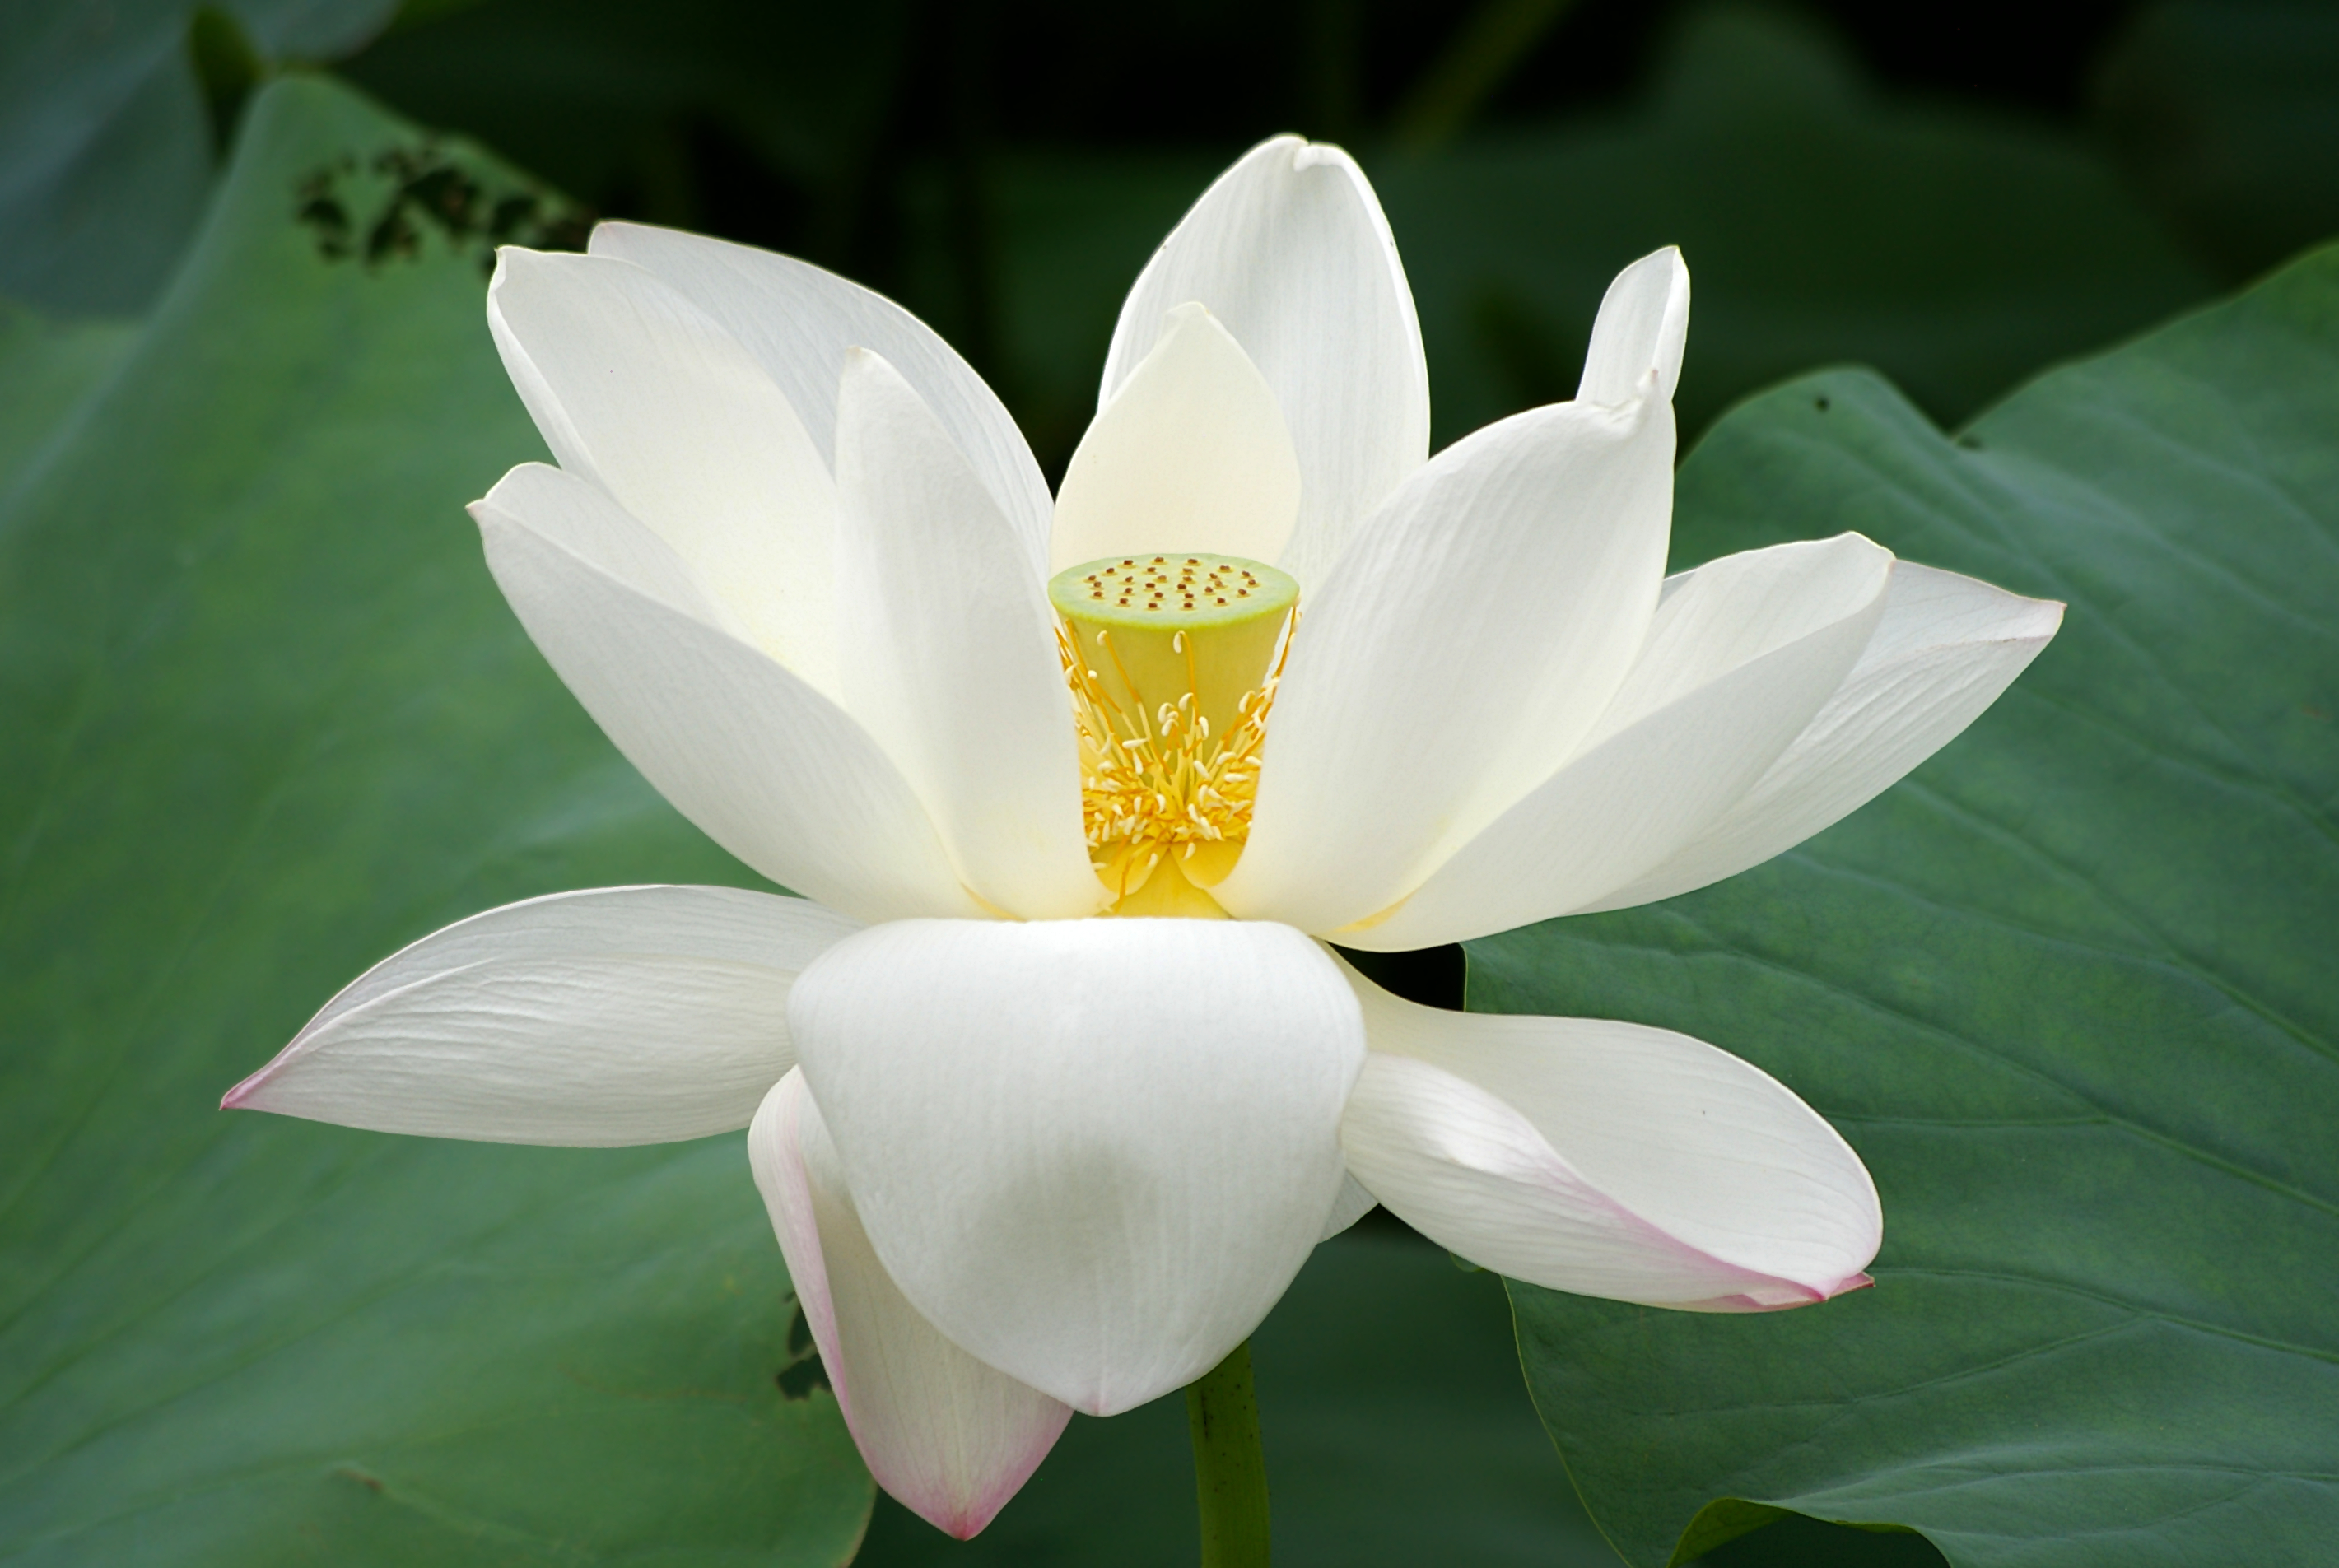
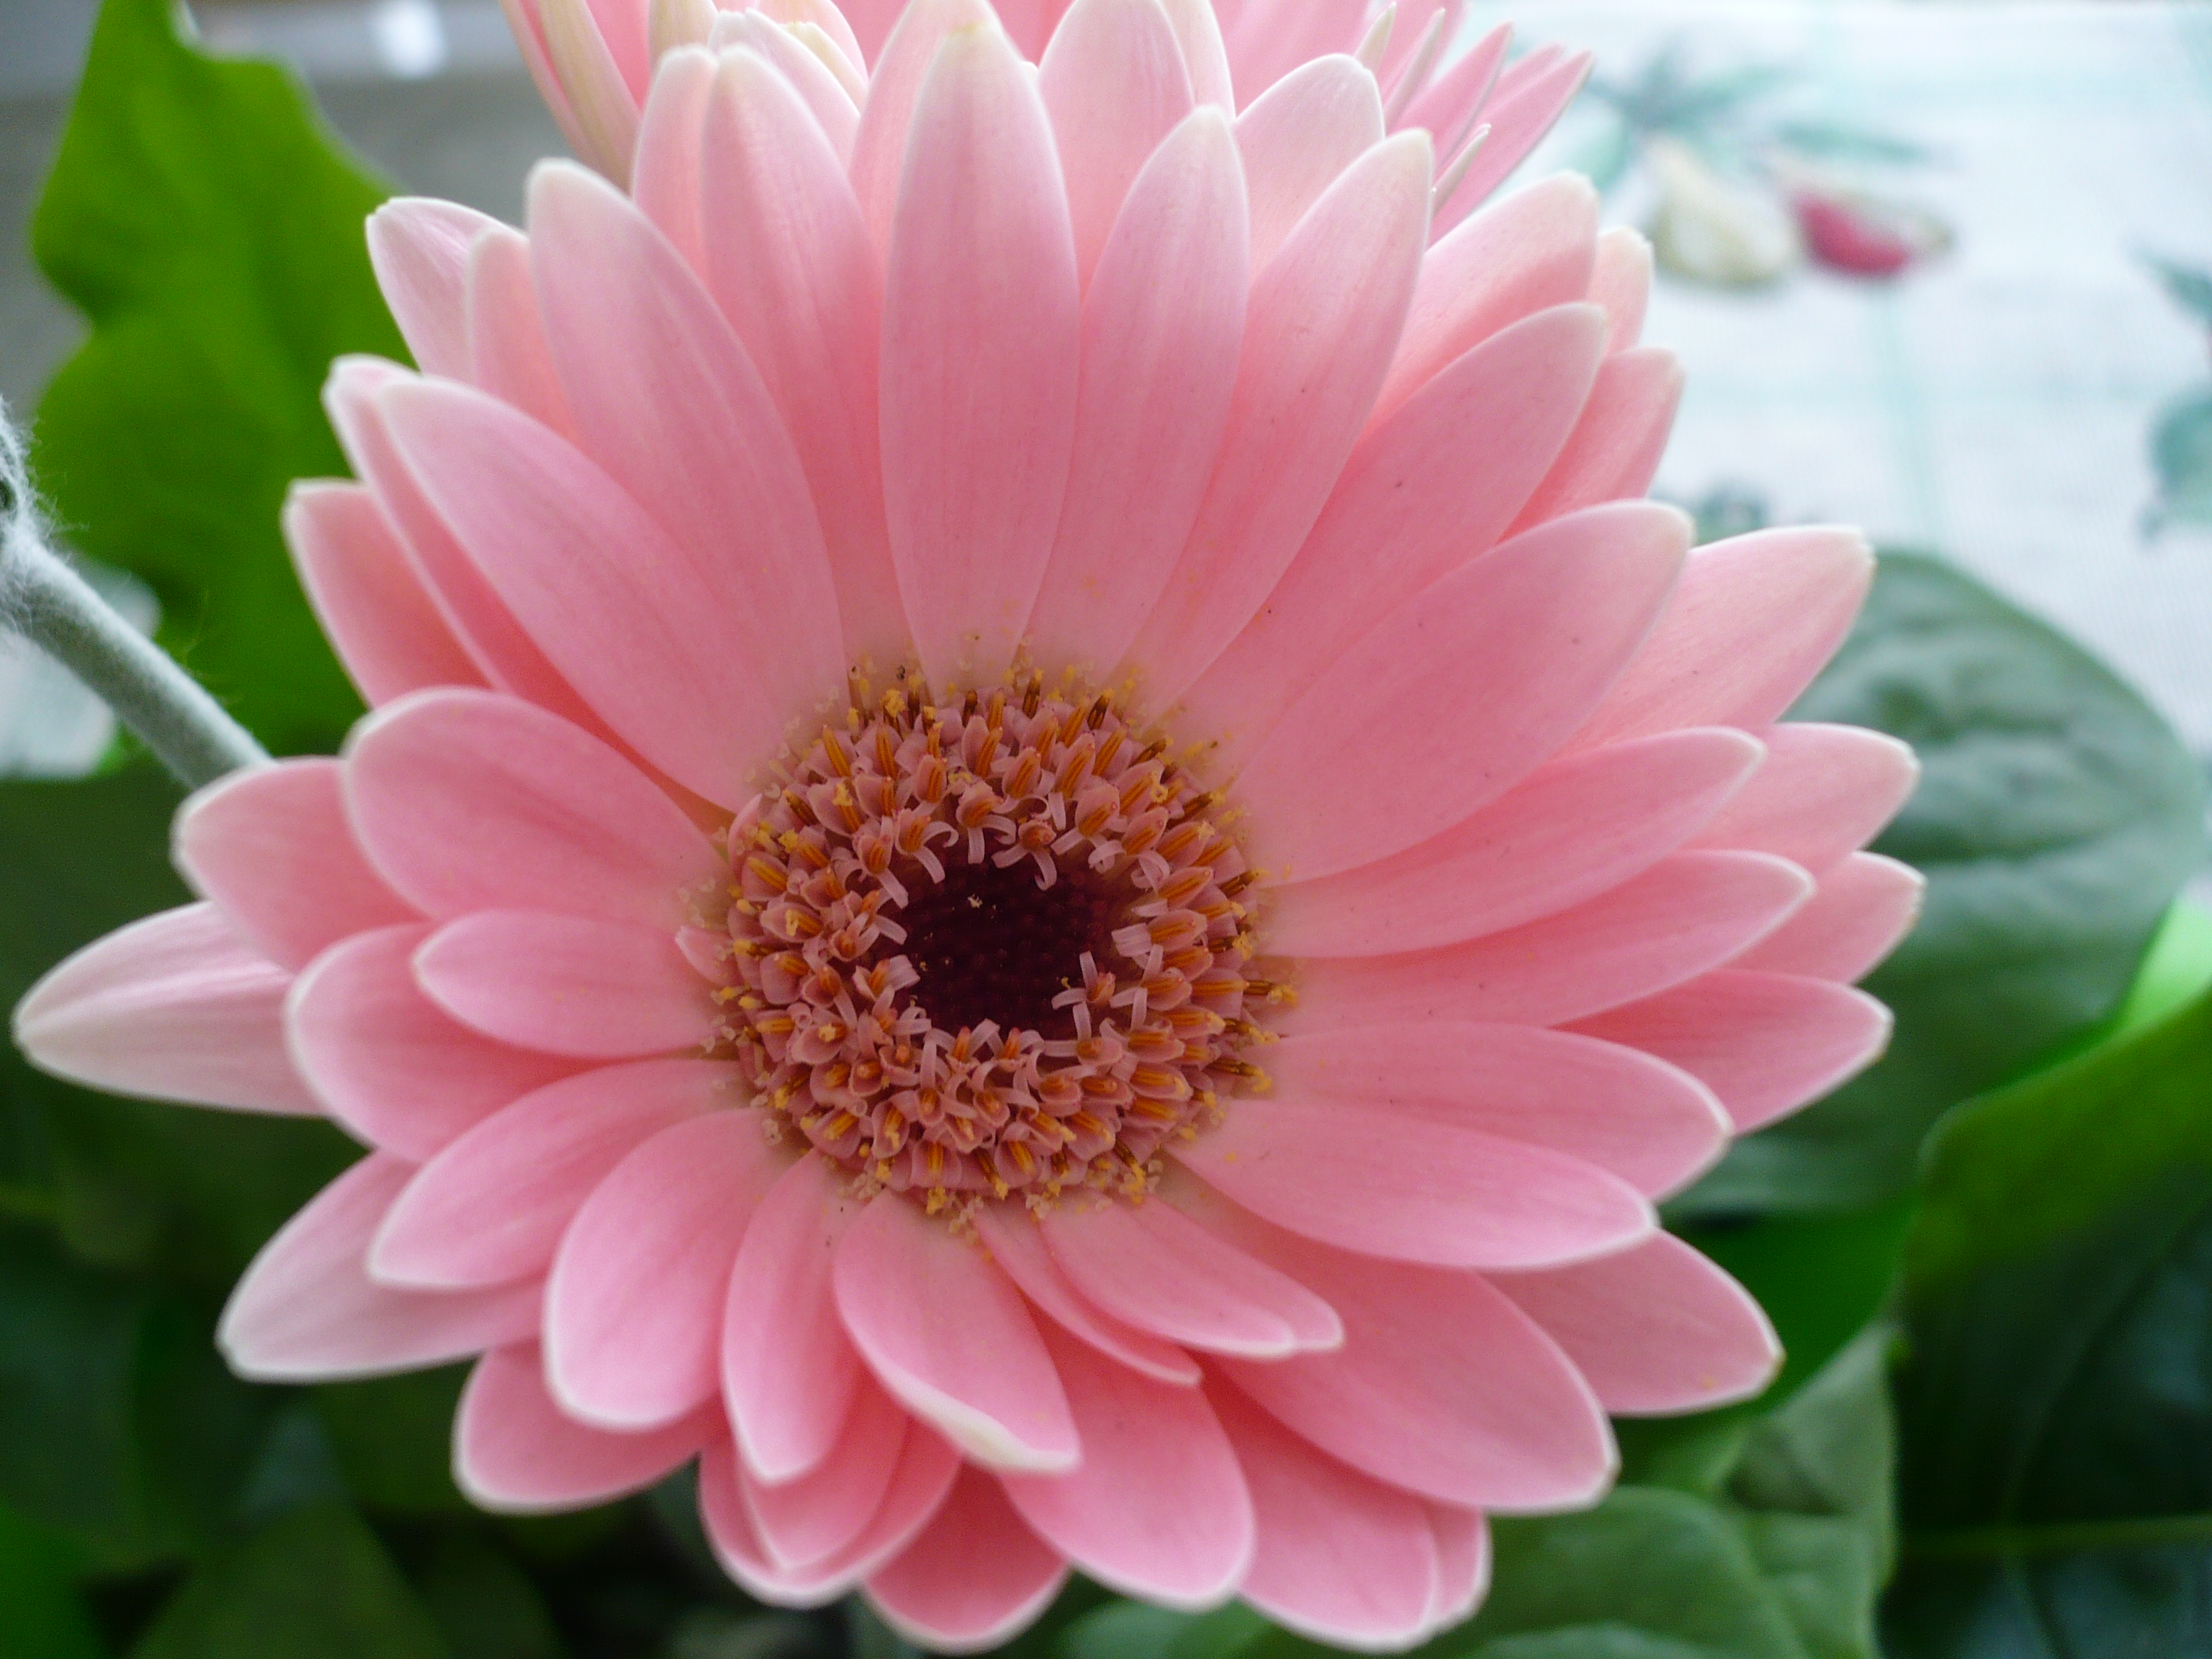
The best way to paint realistic flowers is to look closely at real ones. Flowers, the characteristic reproductive structure of angiosperms, offer endless inspiration. Take time to really see the shape of the petals, how they curve, and where they overlap. Notice the subtle color variations within a single petal, too.
There are over 400,000 different types of flowers in the world, so there's always something new to observe. Pick a fresh bloom and study it from different angles. Take photos, or even make quick sketches to understand its structure before you paint. This direct observation is, honestly, invaluable.
You can also look at high-quality photographs of flowers. Check all the beautiful pictures here, too. Understanding these plant families can help us grow as artists. Pay attention to the light source and how it affects the flower's appearance, so.
Light and Shadow Play
Light and shadow are what give objects their three-dimensional look. Without them, your flowers might look flat. Observe where the light hits your flower and where shadows are cast. Shadows are rarely just black; they often contain hints of color from the surrounding environment.
Use lighter colors where the light is brightest, and darker, richer tones in the shadowed areas. This contrast will make your flowers appear to pop off the canvas. It's a bit like sculpting with paint, in a way.
Think about the direction of the light. Is it coming from the side, from above, or behind? This will change how the shadows fall and how the highlights appear. Mastering this aspect will, basically, make a huge difference in your paintings.
Petal Perfect Details
Each petal has its own unique character. Some might be slightly curled, others perfectly smooth. Don't try to make every petal identical; embrace the natural imperfections. This adds to the realism and charm of your painting, you know.
Use a small brush for those tiny details like the delicate veins on a petal or the texture in the flower's center. These small touches, while seemingly minor, contribute significantly to the overall lifelike quality of your artwork. They are, after all, what makes a flower truly unique.
Remember that flowers facilitate the reproduction of angiosperm species through the production of seed and the formation of fruit, so their structures are quite intricate. Don't feel pressured to capture every single detail, but focusing on a few key ones can be really effective, honestly.
Troubleshooting Common Painting Puzzles
Even experienced artists run into little challenges sometimes, and that's perfectly normal. When you're working with flower painting with acrylics, you might encounter a few common issues. Knowing how to handle them can save you a lot of frustration, so.
Paint Drying Too Fast?
Acrylics are known for their quick drying time, which is great for layering but can be a bit tricky if you want more blending time. If your paint is drying too fast on your palette, try using a stay-wet palette, which helps keep paints moist for longer. You can buy one or make a simple version with a shallow tray, a wet paper towel, and parchment paper, you know.
You can also add a tiny bit of acrylic retarder medium to your paint. This slows down the drying process without thinning the paint too much. Just a drop or two is usually enough, so use it sparingly. It's a useful trick for blending, really.
Working in smaller sections can also help. Focus on one petal or a small area at a time, blending as you go, before moving on. This way, you're always working with wet paint, basically.
Colors Looking Muddy?
If your colors are turning out dull or muddy, it's often because you're over-mixing them or using too many colors at once. Acrylics, once dry, don't blend much, so adding a new wet color over a dry one might just sit on top rather than blend, which is fine, but not for blending.
To avoid muddy colors, try to keep your palette clean. Rinse your brushes thoroughly between colors, especially when switching from a dark to a light shade. A dirty brush can easily transfer unwanted color and make your mixes murky, honestly.
Also, limit the number of colors you mix together. Often, two or three colors are enough to create a vibrant new shade. If you keep adding more, you might end up with a dull, brownish tone. Less is often more when it comes to mixing, you know.
Finding Inspiration for Your Floral Art
Sometimes the hardest part isn't the painting itself, but deciding what to paint. Luckily, inspiration for flower painting is truly everywhere. From your own garden to online galleries, there are endless sources to spark your creativity, you know.
Nature's Own Gallery
The most direct source of inspiration is nature itself. Take a walk in a park, visit a botanical garden, or simply look at the flowers in your own backyard. Juniper flowers is Seattle's premier florist with flower delivery and custom flower arrangements for every occasion and special event, so places like that are great for seeing fresh blooms.
You can also discover the beauty of fresh floral arrangements and the convenience of flower delivery at Flowers on 15th, a Capitol Hill florist in Seattle since 1990. Treat yourself or your loved ones to some flowers, then paint them! You’ll find everything from common favorites like roses to more exotic types, which is pretty cool.
Observe how flowers look at different times of day, under various lighting conditions. This can give you ideas for mood and atmosphere in your paintings. There are, after all, so many different types of flowers to choose from, honestly.
Online Resources
The internet is a treasure trove of floral inspiration. Websites like Pinterest, Instagram, and even stock photo sites offer countless images of flowers in every imaginable variety. You’ll find everything from common favorites like roses to really unique blooms, too.
Here’s a comprehensive list of flower names starting with each letter of the alphabet, and you can check all the beautiful pictures there, too. This can help you find specific types of flowers you might want to paint. We’ve pulled together a list of 170+ flower and plant types, along with pictures of each one and details on the best way to plant them, which can also be a great visual guide.
Look for artists who specialize in flower painting and see how they approach their subjects. This isn't about copying, but about understanding different styles and techniques. You might pick up a new idea or two, you know. For more inspiration and techniques, you can always visit a well-known art supply retailer at https://www.artinspirationhub.com.
Frequently Asked Questions
People often have similar questions when they start flower painting with acrylics. Here are a few common ones, with some helpful answers, basically.
What kind of acrylic paint is best for painting flowers?
For beginners, student-grade acrylics are perfect. They are affordable and offer good color payoff. As you get more comfortable, you might want to try artist-grade paints for their richer pigments and smoother consistency. It's really about what feels good to you, you know.
How do beginners paint simple flowers with acrylics?
Start with simple shapes like circles and ovals to sketch your flower. Then, build up layers of color, beginning with darker tones and adding lighter highlights. Focus on one petal at a time, and don't be afraid to simplify details. Practice makes a big difference, honestly.
What colors do I need to paint flowers?
A basic set including red, blue, yellow, white, and black is a great starting point. You can mix a wide range of colors from these primaries. As you paint more, you might add specific greens for leaves or a particular shade of pink or purple for your favorite blooms. It's pretty versatile, that way.
Conclusion
Flower painting with acrylics is a truly rewarding and enjoyable hobby. From the vibrant hues to the delicate textures, acrylics offer a wonderful way to capture the natural beauty of blooms. Remember, flowers are typically structured in four circular levels around the end of a stalk, and understanding these basics can help you visualize your painting. Discover what is a flower in our simple guide, exploring flower types, flower parts, and flowering plants, including blooming flora, petals, and botanical basics. You can learn

Detail Author:
- Name : Ms. Hilda Bernhard DDS
- Username : candido32
- Email : stanton.afton@yahoo.com
- Birthdate : 1986-10-27
- Address : 24999 Flatley Valleys Apt. 758 Mylesburgh, KS 66895
- Phone : +1 (551) 342-6730
- Company : Fahey-Hayes
- Job : Insurance Underwriter
- Bio : Sint omnis non dolor omnis. Eaque magnam eaque ea reprehenderit expedita. Tempora dolor blanditiis et et.
Socials
twitter:
- url : https://twitter.com/millerb
- username : millerb
- bio : Adipisci blanditiis ex vel doloremque expedita voluptatem. Eligendi autem tenetur voluptas quia maxime saepe sit omnis.
- followers : 4158
- following : 32
facebook:
- url : https://facebook.com/brandonmiller
- username : brandonmiller
- bio : Deserunt id facere voluptates quibusdam eius consequatur aut.
- followers : 2591
- following : 2905
linkedin:
- url : https://linkedin.com/in/bmiller
- username : bmiller
- bio : Quam dolorem sed sequi dignissimos.
- followers : 5126
- following : 2878
tiktok:
- url : https://tiktok.com/@brandon_official
- username : brandon_official
- bio : Consequatur temporibus rem nesciunt. Quis est eveniet pariatur velit dolorem.
- followers : 6492
- following : 839
