
Halloween is a time for spooky fun, and what better way to celebrate than by bringing a touch of classic horror to your doorstep? For many fans of scary movies, the "Scream" franchise holds a special place, with its iconic masked killer and thrilling chases. This year, you can truly show your love for this beloved series by trying out a scream pumpkin painting project. It's a fantastic way to make your Halloween display stand out, offering a nod to a film series that has scared and entertained audiences for decades.
Getting ready for Halloween decorations often means thinking about pumpkins, so too it's almost a given. While carving is a classic choice, painting offers a bit more freedom, allowing for intricate details and lasting designs that won't spoil as quickly. A scream pumpkin painting lets you capture the chilling yet recognizable look of Ghostface, the mysterious figure from the movies. This kind of project is perfect for anyone wanting to add a unique, horror-themed touch to their home, truly making the season feel special.
Whether you're a long-time follower of the "Scream" movies or just someone looking for a fun and scary craft, painting a pumpkin inspired by the franchise is a rewarding activity. You can make it as simple or as detailed as you like, and the result is always a conversation starter. This guide will walk you through everything you need to know to create your very own Ghostface-inspired pumpkin, so you can display a piece of horror history right on your porch, which is that pretty cool.
Table of Contents
- Why a Scream Pumpkin This Halloween?
- Getting Your Materials Ready
- The Art of Scream Pumpkin Painting: Step-by-Step
- Displaying and Preserving Your Scream Masterpiece
- Scream Pumpkin Painting: Variations and Ideas
- Frequently Asked Questions About Scream Pumpkin Painting
Why a Scream Pumpkin This Halloween?
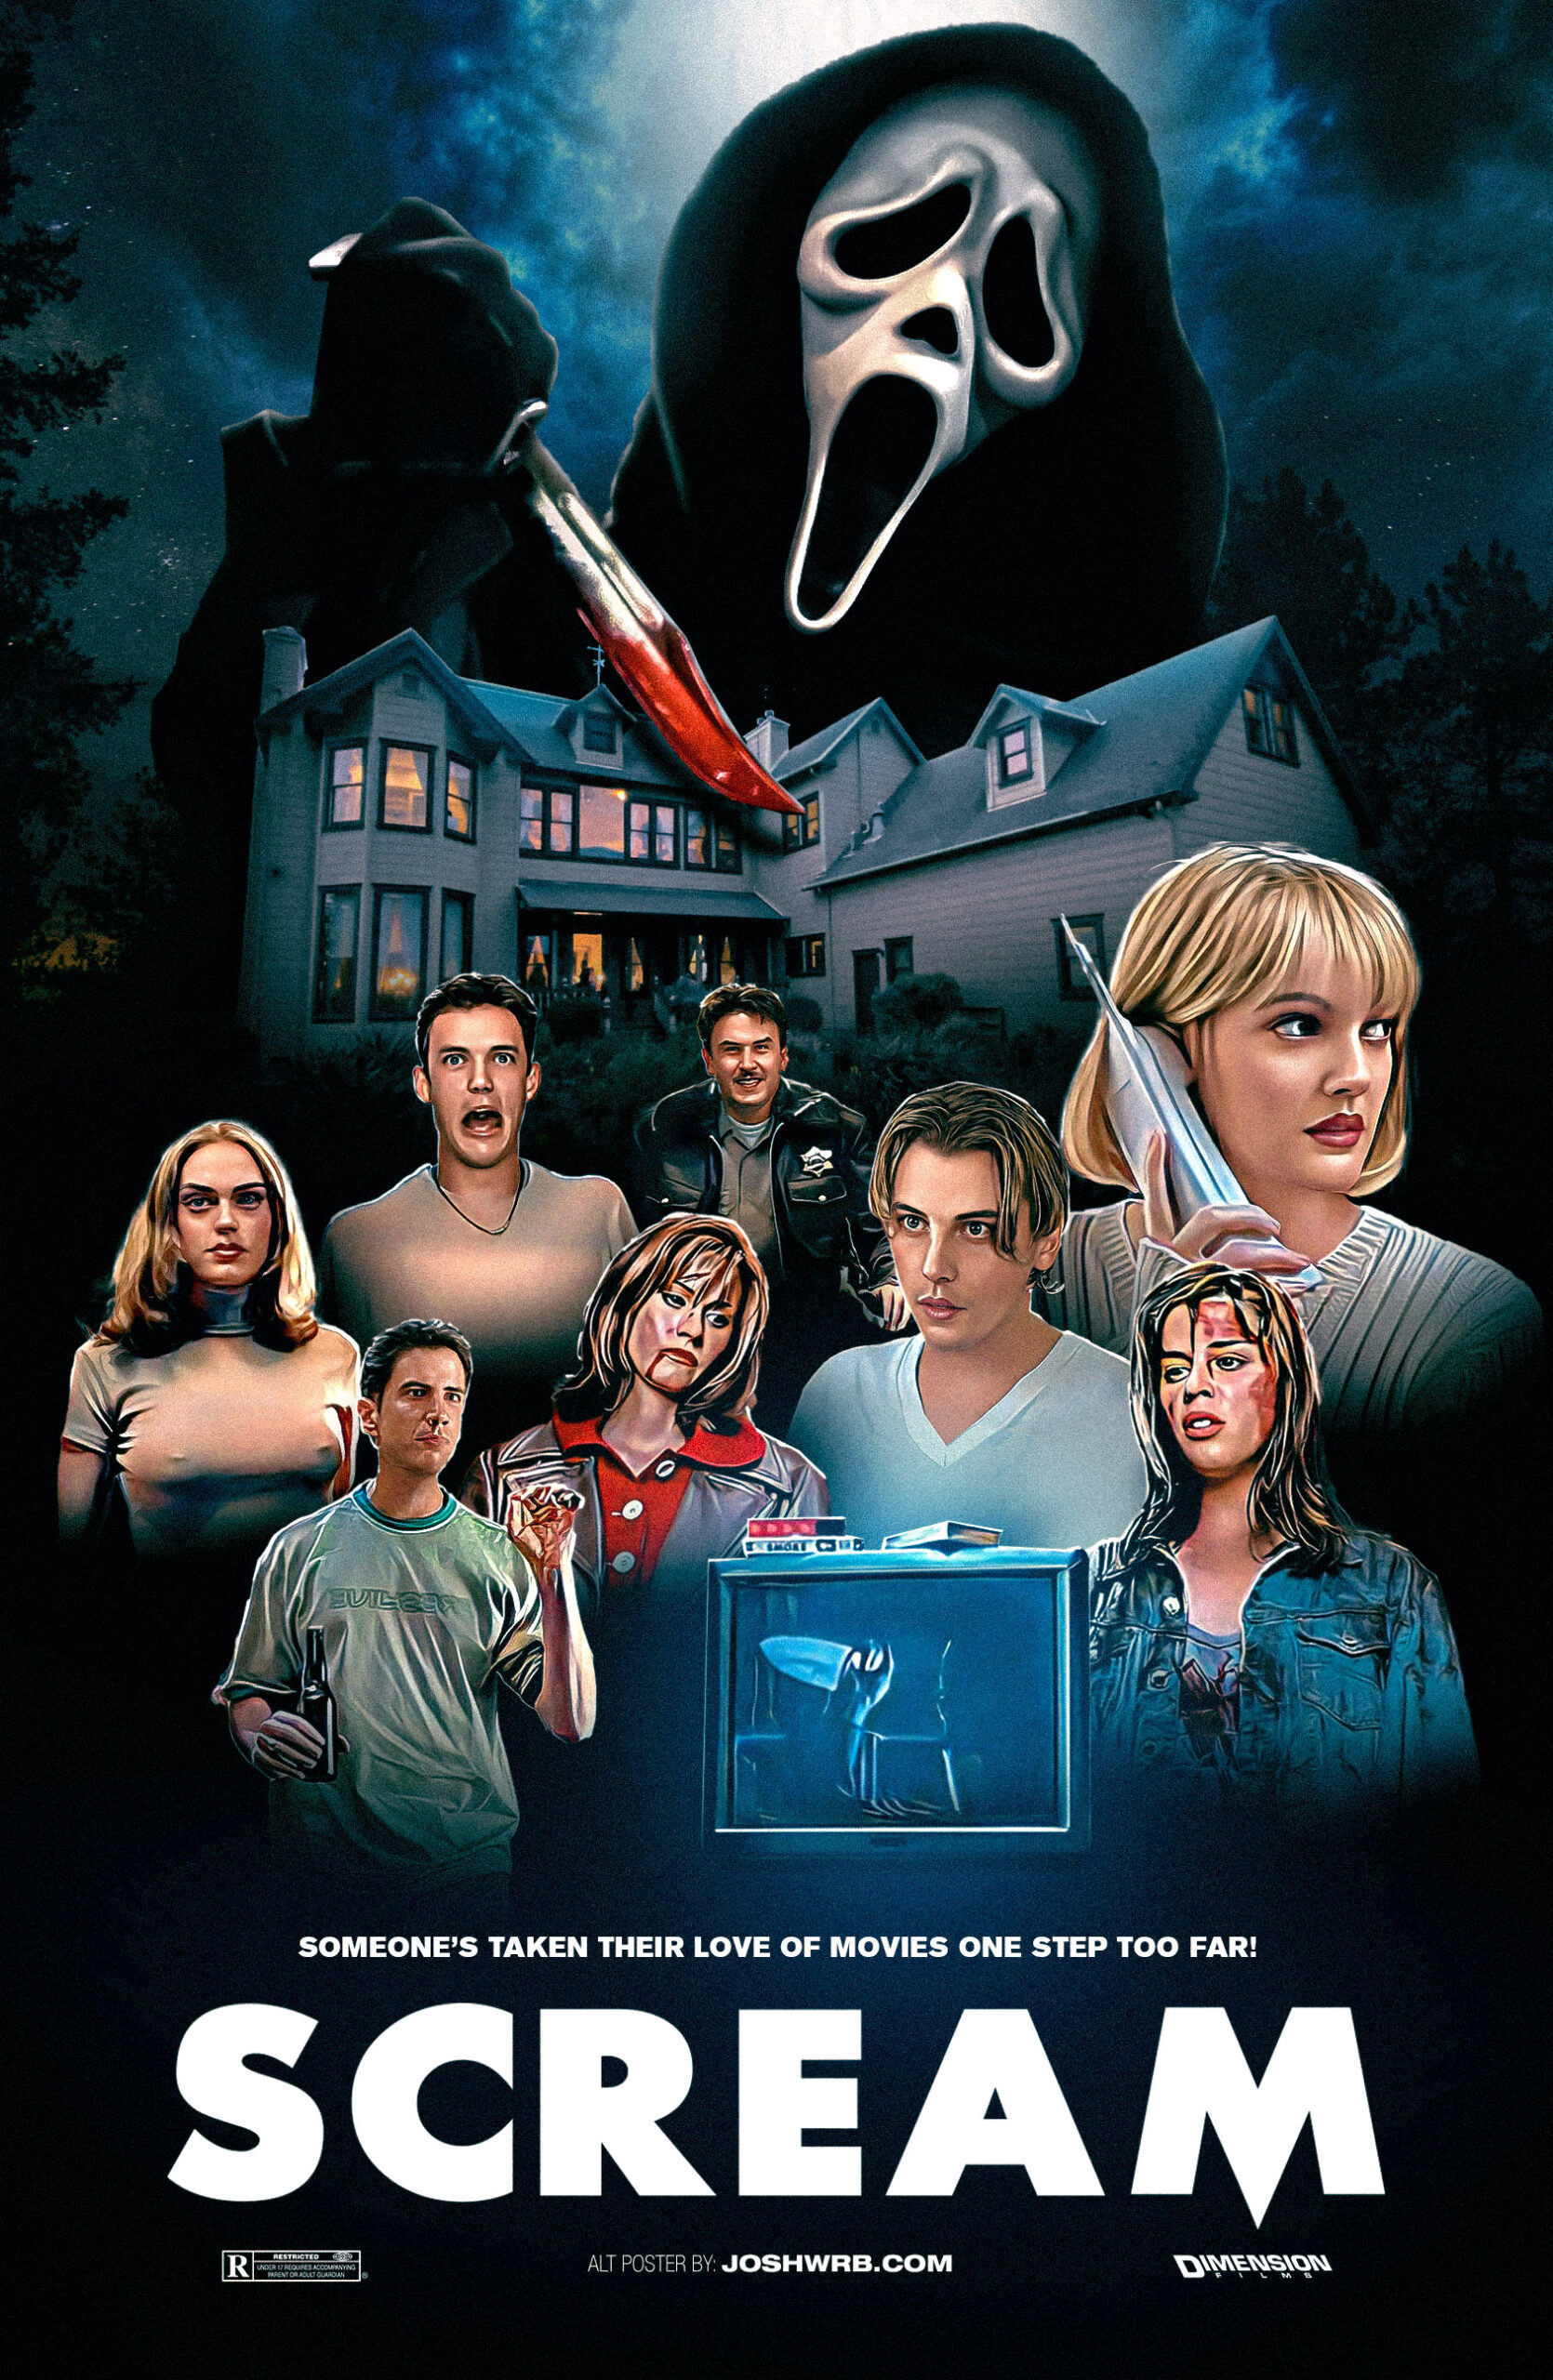
The "Scream" franchise has captivated audiences for a long time, starting with the original film in 1996. It's a series that includes six films, with a seventh one apparently in active development. There's also been a television series, merchandise, and games, which is that quite a lot of stuff. The very first movie, directed by Wes Craven and written by Kevin Williamson, really set the stage for modern slasher films. It starred well-known actors like David Arquette, Neve Campbell, Courteney Cox, Matthew Lillard, Rose McGowan, and Skeet Ulrich. This enduring popularity means a scream pumpkin painting is instantly recognizable and resonates with many people, making it a truly good choice for your Halloween decorations, as a matter of fact.
The story of "Scream" often involves a masked killer targeting a past victim's daughter, creating interconnected storylines that keep fans hooked. You can watch all the "Scream" movies in chronological order, starting with the 1996 original, then "Scream 2" just one year later. This deep history and ongoing presence make Ghostface a powerful symbol of Halloween horror. A pumpkin featuring this iconic mask isn't just a decoration; it's a tribute to a cultural phenomenon, pretty much. It shows you appreciate a classic piece of scary movie history, and that's something many people will get a kick out of.
Choosing a scream pumpkin painting also offers a creative outlet that goes beyond simple jack-o'-lanterns. It allows for a detailed artistic expression, capturing the stark contrast and unsettling features of the Ghostface mask. This kind of project lets you combine your love for crafting with your passion for horror films, resulting in something both personal and widely appealing. It's a way to really get into the spirit of the season, and honestly, it's a bit more fun than just carving a simple face, you know.
Getting Your Materials Ready
Before you begin your scream pumpkin painting adventure, gathering all your supplies is a really good first step. Having everything organized makes the process much smoother and more enjoyable. You don't want to be halfway through painting and suddenly realize you're missing something important, that's just a little frustrating. Taking a few moments to prepare ensures you can focus on the creative part, which is what it's all about, basically.
Choosing the Right Pumpkin
Picking the right pumpkin for your scream pumpkin painting is quite important. You'll want one that's a good size for displaying the Ghostface mask. A medium to large pumpkin usually works best, as it gives you enough surface area for the details. Look for a pumpkin with a smooth, even surface, as bumps or deep grooves can make painting the mask's features a bit harder. A lighter colored pumpkin can also be helpful, as it will make your white paint stand out more clearly, obviously.
Check the pumpkin for any soft spots or blemishes. A firm, healthy pumpkin will last longer, giving you more time to enjoy your finished artwork. Make sure the stem is still attached and sturdy, as this adds to the pumpkin's natural look and can even be a good spot to hold it while you paint. Sometimes, you might find a pumpkin with a slight tilt, which can actually add character to your final piece, giving it a bit of a unique stance, you know.
Consider the shape too; a slightly oval or round pumpkin can both work well for the Ghostface mask. The goal is to find a stable base for your painting, something that won't roll around while you're working on it. Taking your time to select the perfect pumpkin will really pay off in the end, as it's the canvas for your spooky creation, more or less.
Essential Painting Supplies
For your scream pumpkin painting, you'll need a few key items. First, acrylic paints are a great choice because they dry quickly and offer good coverage. You'll definitely want white paint for the mask, and black paint for the eyes, nose, and mouth. A small amount of gray or a very light blue can be useful for subtle shading, if you want to add a bit more depth, that is.
You'll need a variety of paintbrushes. A wider, flat brush is good for applying the base coat of white. Smaller, fine-tipped brushes are absolutely necessary for painting the intricate details of Ghostface's eyes, nose, and that famous screaming mouth. Having a few different sizes will give you more control. Don't forget a cup of water for rinsing your brushes and paper towels or an old cloth for drying them, too it's almost a given.
Other useful items include a pencil for sketching your design first, a permanent marker for outlining, and maybe some newspaper or an old sheet to protect your work surface from paint spills. A clear spray sealant is also a good idea for protecting your finished pumpkin from the elements and making it last longer. This way, your hard work stays looking good for the whole Halloween season, which is pretty nice, anyway.
The Art of Scream Pumpkin Painting: Step-by-Step
Now that you have all your supplies, it's time to start the actual scream pumpkin painting process. This part is where your Ghostface vision comes to life. Taking each step slowly and carefully will help you get the best results, so you don't have to rush anything. Remember, this is about having fun and creating something cool, not about perfection, basically.
Preparing Your Pumpkin for Its Makeover
First, give your pumpkin a good cleaning. Wipe it down with a damp cloth to remove any dirt or debris from the surface. Let it dry completely before you do anything else. Any moisture or dirt can prevent the paint from sticking properly, which would be a bit of a bummer, honestly. A clean surface is truly important for a smooth application of paint.
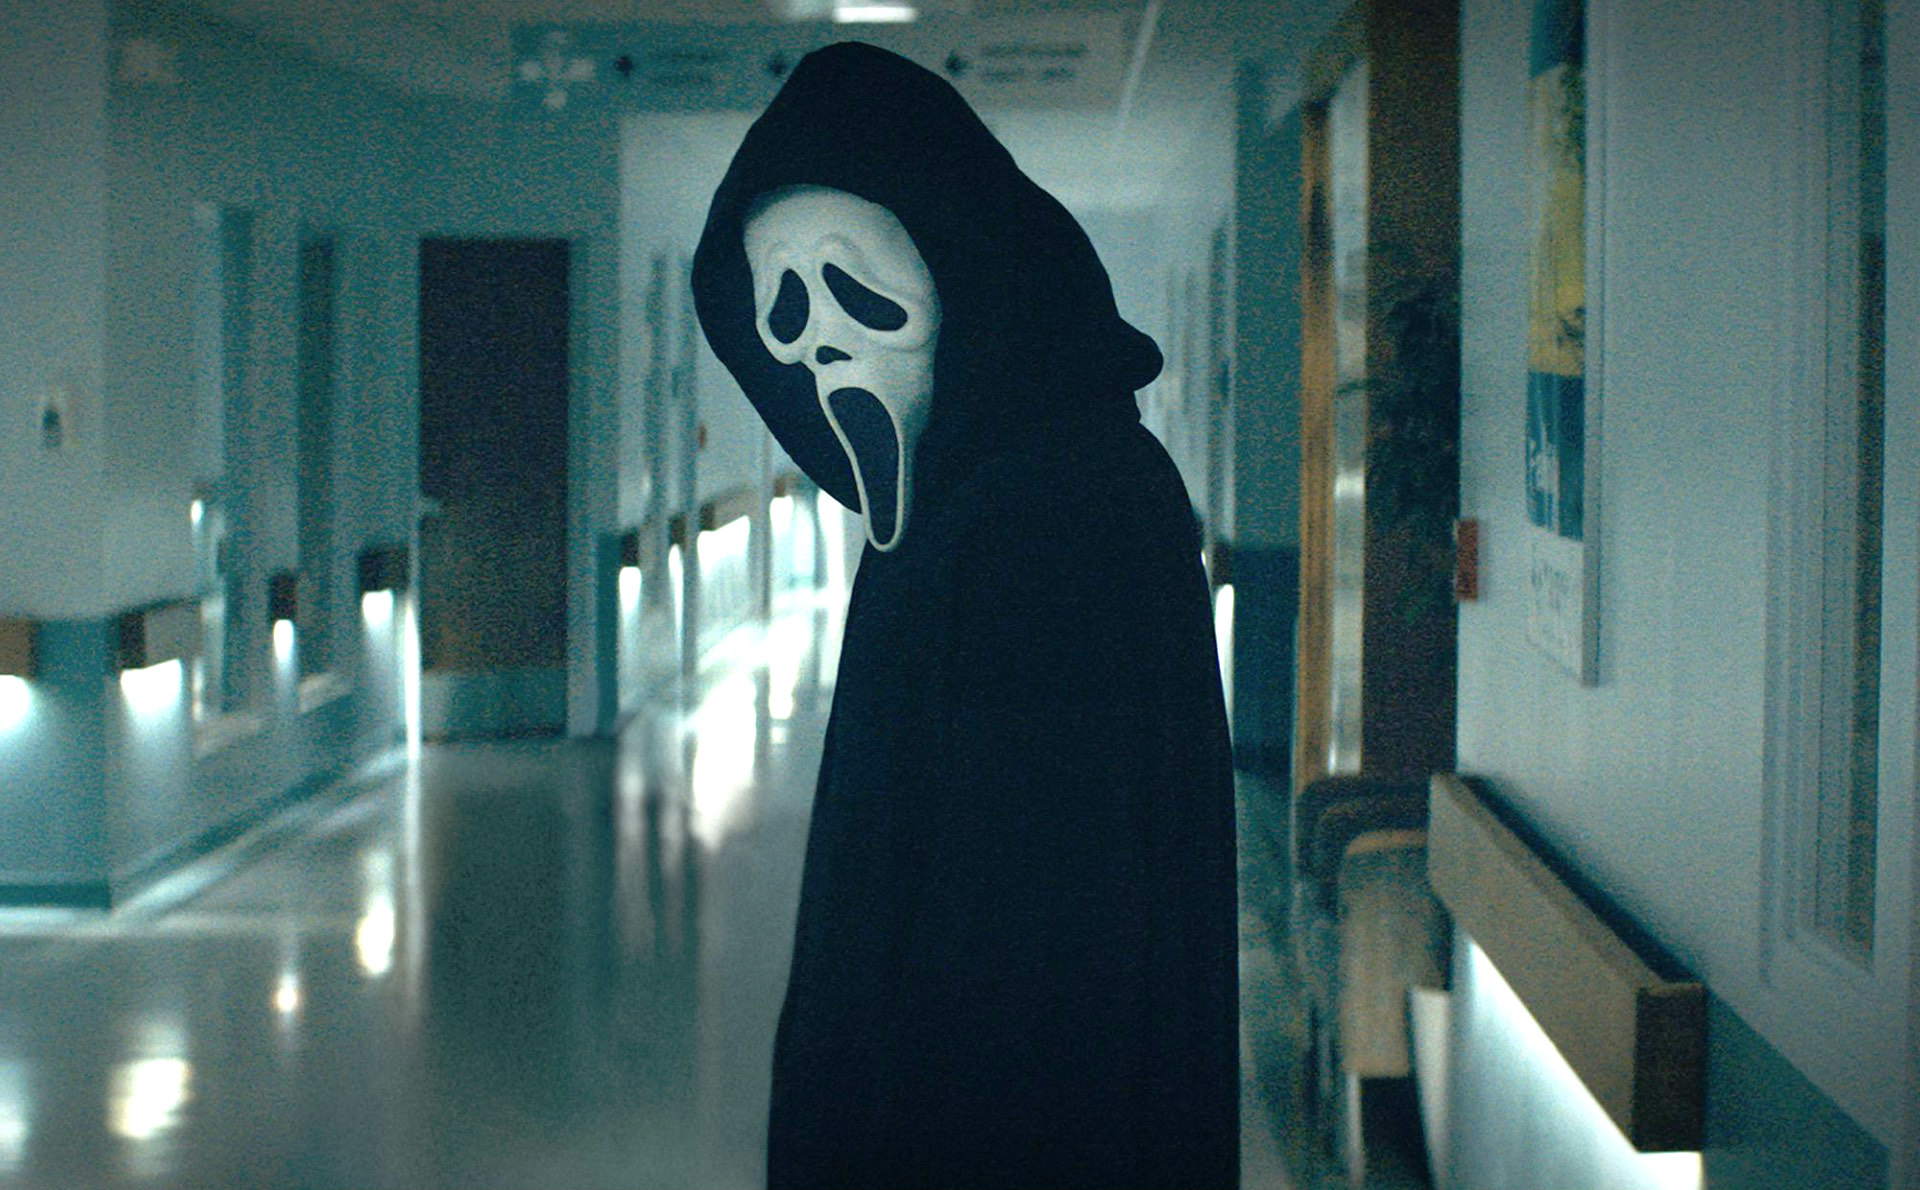
Once your pumpkin is dry, you can sketch out the basic shape of the Ghostface mask with a pencil. You don't need to be super precise at this stage; just get the general outline of the head, the eyes, nose, and mouth in place. This pencil sketch acts as a guide, so you can adjust things before committing with paint. It's a good idea to look at a picture of Ghostface for reference to get the proportions right, you know, just to make sure it looks authentic.
After sketching, you can go over your pencil lines with a permanent marker if you want a clearer guide. Then, begin applying a base coat of white paint for the mask area. You'll likely need two or three thin coats to get a solid, opaque white. Let each coat dry fully before applying the next one. This layering helps create a smooth, even surface for the darker details, which is actually quite important for the overall look.
Painting the Ghostface Mask Details
With your white base dry, it's time for the black details. Use your fine-tipped brushes for this part. Start with the eyes. Ghostface's eyes are typically narrow and somewhat triangular, giving that intense, staring look. Take your time to get the shape just right. You can always refine the edges with a very small brush later, if you need to, which is pretty handy.
Next, paint the nose. It's usually a distinct, elongated triangle pointing downwards. Again, reference pictures can be very helpful here to capture the specific style of the mask. The nose is a key feature that helps define the face, so getting its shape right is pretty crucial. Remember to keep your hand steady and use controlled strokes, so you don't accidentally smudge anything, you know.
Finally, tackle the mouth. This is perhaps the most famous part of the Ghostface mask: a long, wavy, screaming shape. It stretches across the lower part of the mask, often with a slightly jagged or uneven edge to show that unsettling, open-mouthed expression. Take your time with the curves and points of the mouth to really capture that iconic scream. You might even want to practice on a piece of paper first, just to get a feel for the shape, which is a good idea, honestly.
Adding Depth and Shadows
To make your scream pumpkin painting truly stand out, adding a bit of depth and shadow can make a big difference. The Ghostface mask, in the films, often has subtle contours and shadows that give it a more three-dimensional appearance. You can achieve this effect by using a small amount of gray or a very light blue paint, diluted slightly with water, to create thin washes.
Apply these diluted colors very sparingly around the edges of the eyes, nose, and mouth, and along the contours of the mask itself. The idea is to create a subtle shading that suggests the curves and folds of the fabric mask without making it look too dark or muddy. Blend these shadows gently with a clean, slightly damp brush while the paint is still wet. This blending helps create a soft transition, making the shadows look natural, which is really what you're going for, more or less.
You can also use a tiny bit of black paint, very, very diluted, to add even deeper shadows right into the corners of the eyes or under the nose, if you want to. The key is to use very little paint and to build up the layers gradually. It's much easier to add more shadow than to remove it. This step really brings the mask to life, giving it that unsettling, realistic quality that fans of "Scream" will appreciate, you know.
Displaying and Preserving Your Scream Masterpiece
Once your scream pumpkin painting is completely dry, which can take several hours depending on the paint thickness, you'll want to protect your hard work. A clear acrylic spray sealant is your best friend here. Apply a thin, even coat over the entire painted surface. This sealant helps protect the paint from moisture, dust, and general wear and tear, making your pumpkin last longer throughout the Halloween season. You might want to apply two thin coats for better protection, allowing each to dry fully, which is a good practice, actually.
When choosing a spot to display your Ghostface pumpkin, consider its visibility and safety. A porch, a front step, or a prominent window sill are all great places where your spooky creation can be seen by trick-or-treaters and neighbors. If you plan to put it outside, try to place it in a somewhat sheltered area to protect it from heavy rain or direct sunlight, which can fade the paint over time. A little bit of shade is usually good for preserving its look, you know.
If you want to light up your pumpkin, avoid using traditional candles inside a painted pumpkin, as the heat can damage the paint and also pose a fire risk. Instead, use battery-operated LED tea lights or small LED puck lights. These provide a safe, soft glow that will illuminate Ghostface's features from within, creating a truly eerie effect, especially at night. They're also much safer for children and pets, which is a big plus, basically.
Regularly check on your pumpkin for any signs of decay, especially if it's outside. Even with sealant, pumpkins are organic and will eventually start to break down. By taking these steps, you can ensure your scream pumpkin painting remains a frighteningly fantastic part of your Halloween decorations for as long as possible, which is pretty neat.
Scream Pumpkin Painting: Variations and Ideas
While the classic Ghostface mask is a fantastic choice for your scream pumpkin painting, there are many ways to add your own personal touch or explore other elements from the "Scream" franchise. The films, like the 1996 original directed by Wes Craven, have a rich visual history that goes beyond just the mask. You could consider painting a pumpkin that features a subtle nod to the film's iconic phone calls, for example, which is a rather clever idea.
One idea is to paint the pumpkin entirely black and then use white paint to create a more distressed, weathered version of the Ghostface mask. This can give it a really old, creepy feel, almost like a mask that's been through many terrifying encounters. You could also add some faux blood drips around the mouth or eyes, using red paint, to make it even more gruesome. Just a little bit of red can really make a big impact, honestly.
Another approach for your scream pumpkin painting could be to incorporate elements from the film's setting. Perhaps a silhouette of a house that looks like the one from the movie, or even a small, stylized knife shape next to the Ghostface mask. These details can add layers to your design and show off your deep knowledge of the franchise. You could even try to paint a pumpkin with the faces of some of the original cast members, like David Arquette as Dewey, Neve Campbell as Sidney, or Courteney Cox as Gale, if you're feeling really ambitious, that is.
For a less intense look, you could paint a Ghostface mask in a more cartoonish or stylized way, using brighter colors or simpler lines. This is great for families with younger children who still want to celebrate the "Scream" theme but prefer something a little less scary. You could even make a series of smaller pumpkins, each with a different expression of the Ghostface mask, from surprised to truly menacing, which would be a fun display, basically. Remember, the goal is to have fun and make it your own, so feel free to experiment with different styles and ideas, you know. Learn more about Halloween crafts on our site, and check out this page for more pumpkin inspiration.
Frequently Asked Questions About Scream Pumpkin Painting
People often have questions when they're planning a scream pumpkin painting project. Here are some common inquiries that might help you out, which is pretty useful.
How long does a painted pumpkin last?
A painted pumpkin, especially one that has been cleaned and sealed, typically lasts longer than a carved one. You can expect it to stay looking good for a few weeks, sometimes even a month or more, depending on the weather and where you keep it. Keeping it in a cool, dry place and out of direct sunlight or heavy rain will definitely help it last longer, which is a good tip.
What kind of paint is best for pumpkins?
Acrylic paint is usually the best choice for painting pumpkins. It's water-based, so it cleans up easily, and it dries quickly, which is very convenient. It also sticks well to the pumpkin's surface and provides good coverage. You can find acrylic paints at most craft stores, and they come in a huge range of colors, so you'll easily find the black and white you need for your Ghostface design, naturally.
Can I use stencils for a scream pumpkin painting?
Absolutely, using a stencil can make your scream pumpkin painting much easier, especially if you're not confident in your freehand drawing skills. You can print out a Ghostface mask outline online, cut out the shapes for the eyes, nose, and mouth, and then tape it to your pumpkin. Then, you can simply paint inside the stencil. This method helps ensure you get accurate and clean lines, which is pretty helpful, honestly.
The "Scream" franchise has a deep history, with the original film coming out in 1996, and a new one in development. You can find out where to watch every "Scream" movie and the TV show online if you want to refresh your memory on the mask's details. Many fans, like those in our community database, are dedicated to all things "Scream." A scream pumpkin painting is a fantastic way to join in that fan spirit and create something truly memorable for Halloween, you know. So, grab your paints and get ready to bring Ghostface to life on your pumpkin this season!

Detail Author:
- Name : Raquel Balistreri
- Username : iweimann
- Email : jacobson.glenda@schaefer.net
- Birthdate : 1987-10-18
- Address : 373 Davis Centers Apt. 955 Lake Coreneview, NM 57441-8223
- Phone : +12285074236
- Company : Langworth LLC
- Job : Chemical Technician
- Bio : Deserunt unde hic aut quidem qui modi molestiae. Deleniti ipsam ut eaque cumque. Ipsa qui unde esse similique occaecati culpa eius.
Socials
twitter:
- url : https://twitter.com/jaylon.keeling
- username : jaylon.keeling
- bio : Doloribus nihil repudiandae voluptates nobis quos. Cumque enim quod optio quia eum architecto rerum. Magnam voluptas rerum nostrum atque corporis sequi.
- followers : 4467
- following : 2075
tiktok:
- url : https://tiktok.com/@jaylon_xx
- username : jaylon_xx
- bio : At quaerat et ut explicabo qui vel sapiente a. Excepturi qui eum aut itaque.
- followers : 4209
- following : 601
