
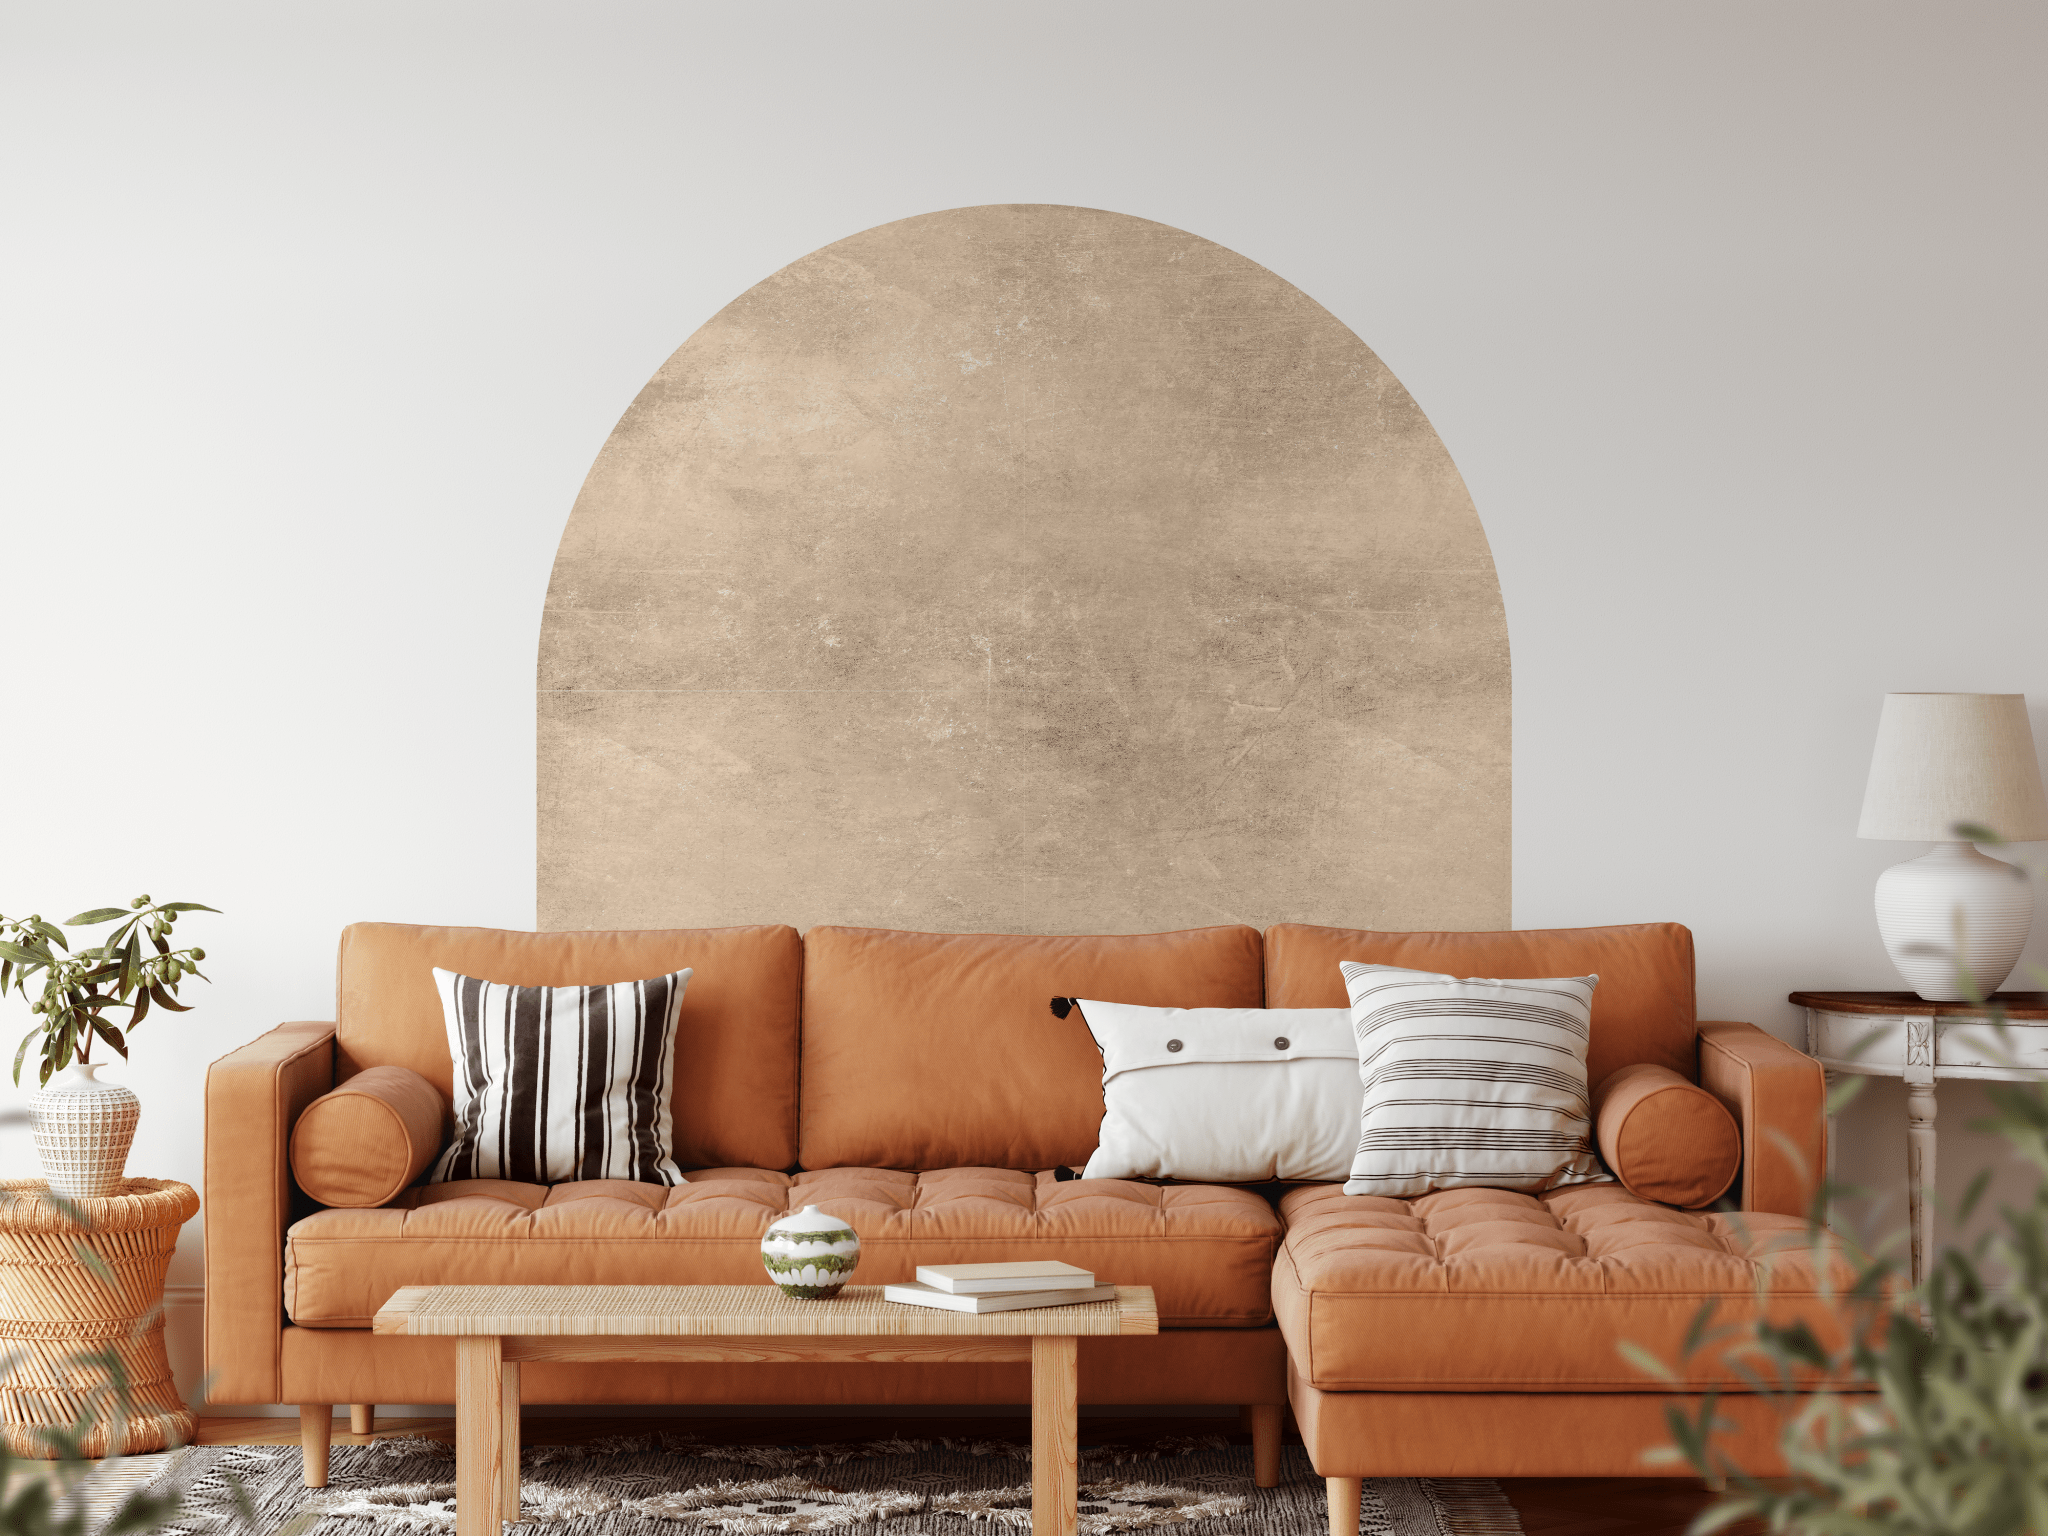
Transforming a plain plywood arch into a striking piece of decor, whether for a special event or your living space, feels incredibly rewarding. You know, adding a custom decal can really make it pop, giving it a unique flair that speaks to your style. It's almost like giving a blank page a voice, a visual story to tell.
Sometimes, when you look at an empty surface, you might feel a bit unsure where to begin. It's a bit like a fresh canvas, isn't it? Just as a single pixel, placed with care, starts to build a bigger picture, each small part of this project contributes to a wonderful whole. This guide, you see, will walk you through each step, helping you create something truly special.
This article will show you exactly how to place decals on a plywood arch, making sure your project turns out beautifully. We'll cover everything from getting your arch ready to applying the decal smoothly, and you'll pick up some handy tricks along the way. So, let's get ready to make something amazing.
Table of Contents
- Gathering Your Supplies
- Preparing Your Plywood Arch
- The Decal Application Process
- Aftercare and Finishing Touches
Gathering Your Supplies
Before you begin, having all your bits and pieces ready makes the whole process much smoother. It's like preparing for any big task, really; a bit of organization goes a long way. You want to make sure you have everything you could possibly need close by.
What You'll Need
For this project, you will want a few specific items. First, of course, you'll need your chosen decal. Then, grab a tape measure, a pencil, and some painter's tape. A squeegee or a credit card will be very helpful for smoothing.
You might also want a craft knife or a sharp utility blade, and perhaps a soft cloth. Some rubbing alcohol or a gentle cleaner is also good to have on hand. For preparing the wood, you'll need sandpaper, and possibly primer and paint.
Having a spray bottle with a tiny bit of dish soap mixed with water can sometimes help, especially with larger decals. This soapy water allows you to reposition the decal slightly before it fully sticks. It's a pretty useful trick, you know.
Picking the Right Decal
The type of decal you pick matters a lot for how it will look and how easy it is to put on. Vinyl decals are usually the best choice for plywood arches. They are quite durable and come in many colors and finishes.
Consider the size and shape of your arch when choosing a decal. A very large, intricate design might be more challenging to apply smoothly, especially on a curved surface. Smaller, simpler designs can be a bit more forgiving, actually.
Also, think about the finish of the decal. Matte finishes often look more painted on, while gloss finishes can really catch the light. Your choice here depends on the overall look you're going for, obviously.
Preparing Your Plywood Arch
Getting your plywood arch ready is a really important step. A good surface means your decal will stick well and look fantastic. Skipping this part can lead to bubbles or peeling later, which you definitely want to avoid.
Cleaning the Surface
First, you need to make sure your plywood arch is completely clean. Any dust, dirt, or grease will stop the decal from sticking properly. Use a soft, lint-free cloth and some rubbing alcohol or a mild, non-residue cleaner.
Wipe down the entire surface where the decal will go. Let it dry completely before moving on to the next step. This might seem like a small thing, but it's pretty crucial for good adhesion.
You really want the surface to be as pristine as possible, so take your time with this. It's almost like preparing a canvas for a painting, where every speck matters. A clean start makes a big difference.
Sanding for Success
Plywood can sometimes have a rough texture or small splinters. Gently sanding the surface will create a smoother area for your decal to stick to. Use a fine-grit sandpaper, something like 220-grit, for this.
Sand in the direction of the wood grain, applying light, even pressure. After sanding, wipe away all the dust with a clean, damp cloth, and then let it dry again. This step is pretty important for a smooth finish.
A very smooth surface helps the decal adhere evenly, reducing the chance of air pockets. It's a bit like making sure a path is clear before you walk on it, you know? A little effort now saves trouble later.
Priming and Painting
You might wonder, can you put vinyl decals on painted plywood? The answer is yes, absolutely! In fact, painting your plywood arch first can often give you a better surface for decal application and a more polished final look.
If you plan to paint, apply a good quality primer first. This helps the paint stick better and creates a uniform surface. Then, apply your chosen paint color, making sure to let each coat dry fully.
A smooth, semi-gloss or satin paint finish generally works best for decals. Avoid highly textured or matte paints, as these can make it harder for the decal to stick or to remove bubbles. It's quite a common practice, actually.
Make sure the paint is fully cured, not just dry to the touch, before applying your decal. This can take several days, depending on the paint type and humidity. Patience here really pays off, you see.
The Decal Application Process
This is where your careful preparation really comes into play. Applying the decal requires a steady hand and a bit of patience. But don't worry, it's totally doable, and you'll feel great once it's done.
Measuring and Marking
Before you peel anything, figure out exactly where you want your decal to go. Use your tape measure and a pencil to mark the center point or the edges of where the decal will sit. This is a very important step for alignment.
You can use painter's tape to create temporary guidelines on your arch. This helps ensure your decal is straight and centered. Take a step back and look at your markings from different angles to be sure, too.
Getting this right from the start means less fuss later on. It's a bit like laying out a blueprint before you build, ensuring everything lines up. Precision here is pretty helpful.
The Hinge Method
For most decals, especially larger ones, the "hinge method" is your best friend. Lay your decal, with its backing paper still on, onto your marked area. Use a long piece of painter's tape to create a "hinge" across the middle of the decal.
Once the hinge is secure, peel back one half of the decal's backing paper, folding it back to the tape hinge. Carefully cut away this exposed backing paper. Now, you have half the decal ready to apply, with the other half still protected.
Starting from the hinge, slowly lower the decal onto the arch, using your squeegee to smooth it down as you go. Work from the center outwards, pushing out any air bubbles. This method gives you a lot more control, you know.
After the first half is down, remove the tape hinge. Then, peel back the remaining backing paper from the other half of the decal. Repeat the smoothing process, working from the hinge outwards, to apply the second half.
Smooth Application Techniques
When you're smoothing the decal, always use firm, even pressure with your squeegee. Overlap your strokes slightly to make sure you don't miss any spots. Work slowly and methodically, pushing air towards the edges.
If you see a bubble forming, try to push it out to the nearest edge. For stubborn bubbles, sometimes lifting a small section of the decal carefully and reapplying it can help. This takes a bit of a gentle touch, obviously.
For very large decals, having a second person to help hold the decal taut can make a huge difference. It's like having an extra pair of hands to guide you, making the whole thing less tricky. Two heads are better than one, after all.
Dealing with Bubbles
So, how do you remove bubbles from vinyl decals once they are there? Despite your best efforts, sometimes a few small air bubbles might appear. Don't panic; most of them can be fixed. Tiny bubbles often disappear on their own over a few days as the decal settles.
For larger, more noticeable bubbles, you can use a very fine needle or the tip of your craft knife to carefully poke a tiny hole in the edge of the bubble. Then, use your squeegee to gently push the air out through the hole.
Be very gentle when poking, as you don't want to tear the decal. This method is quite effective for getting rid of those pesky air pockets. It's a bit like letting the air out of a balloon, really.
Working with Curves
Applying decals to a curved plywood arch adds an extra layer of challenge. The key here is patience and possibly using the wet application method for larger decals. The soapy water allows for slight repositioning and helps the decal conform to the curve.
When using the wet method, spray the arch surface and the adhesive side of the decal lightly with the soapy water mixture. Place the decal, position it, and then squeegee out the water and air from the center outwards.
For smaller decals or lettering, you might need to make small relief cuts in the transfer tape (not the decal itself) to help it bend around the curve without wrinkling. This is a pretty common trick for tricky shapes.
Work in small sections, pressing the decal down firmly onto the curve. You might find that heat from a hairdryer on a low setting can help the vinyl become more pliable and stick better to the curve. Just be careful not to overheat it, you know.
Aftercare and Finishing Touches
Once your decal is on, a little aftercare helps ensure it stays put and looks good for a long time. This final stage is just as important as the preparation, truly.
Curing Time
After applying the decal, it's important to let the adhesive "cure" or fully bond with the plywood surface. This usually takes about 24 to 48 hours, but it can vary depending on the decal material and environmental conditions.
During this time, avoid touching or disturbing the decal as much as possible. This allows the adhesive to set properly, creating a strong, lasting bond. It's a bit like letting paint dry completely, you see.
Some people find that gently rubbing the decal with a soft cloth after a few hours can help ensure full adhesion, but do this very carefully. This step is pretty simple but very important.
Protecting Your Work
To further protect your beautiful new decal and the plywood arch, you might consider applying a clear coat sealant. This can add an extra layer of durability, especially if the arch will be exposed to wear and tear or outdoor elements.
Choose a sealant that is compatible with both your decal material and your paint (if you painted the arch). Always test the sealant on a small, hidden area first to ensure it doesn't react negatively with the decal or cause discoloration.
Apply the sealant in thin, even coats, following the manufacturer's instructions. This step can really extend the life and vibrancy of your customized arch. For more tips on sealing wood, you might want to check out some general wood sealing advice.
And there you have it! Your plywood arch, adorned with a custom decal, is now ready to impress. Each carefully placed piece, much like a pixel on a vast digital canvas, comes together to form something truly significant and personal. Learn more about decorating ideas on our site, and for more specific projects, link to this page DIY Arch Projects.


Detail Author:
- Name : Tyrell Goyette
- Username : wprosacco
- Email : simonis.magnolia@jacobi.com
- Birthdate : 1981-09-01
- Address : 37431 Dewayne Grove Lake Terrill, AL 81309-9125
- Phone : +1 (212) 571-8094
- Company : Dietrich Inc
- Job : Pharmacy Aide
- Bio : Exercitationem autem et illum nesciunt reiciendis porro. Nemo sed minus qui deserunt consequatur dolor. Dolor dolorum consectetur aperiam accusamus quia velit.
Socials
twitter:
- url : https://twitter.com/alberta8952
- username : alberta8952
- bio : Qui sed debitis tempore est enim ut ut. Nam et illo dolores dolor at debitis eos. Delectus aspernatur praesentium qui dolor repellendus et.
- followers : 3351
- following : 1149
instagram:
- url : https://instagram.com/alberta_towne
- username : alberta_towne
- bio : Dolore consequatur praesentium dolorem similique ut. Vel qui esse aut. Hic aut aut ducimus.
- followers : 1498
- following : 507
linkedin:
- url : https://linkedin.com/in/alberta.towne
- username : alberta.towne
- bio : Quam quia rem qui provident.
- followers : 2447
- following : 1221
facebook:
- url : https://facebook.com/towne2016
- username : towne2016
- bio : Mollitia dolor tenetur omnis beatae. Excepturi alias cupiditate facere soluta.
- followers : 6120
- following : 2106
tiktok:
- url : https://tiktok.com/@alberta_towne
- username : alberta_towne
- bio : Voluptas rerum possimus sint illum.
- followers : 5357
- following : 1717
